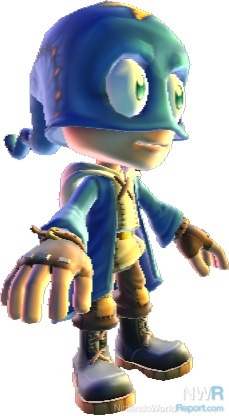
Creating Flip's material effects using NintendoWare.
The way game developers create the visual and material effects in most modern games is by using small programs called shaders. These programs get run for every pixel that's drawn to the screen (as well as millions that aren't), and decide exactly what colour that pixel should be.Because these programs can be basically anything, it’s possible to create very complex effects including physically-correct models of real-world processes, or fantastic phenomena seen nowhere in nature.
The Wii doesn’t support fully-programmable shaders though, at least not directly. It uses something called the TEV (for Texture EnVironment). The TEV is much more restricted in terms of the operations you can do, and the inputs at each stage. In a way, it's like the difference between sculpting clay by hand versus pressing it with molds or stamps. With careful application you can get many of the same effects, but it's not the same freedom you have when working by hand. You have to think very carefully about the tools at your disposal, and sometimes use them in unconventional ways.
Edge Light
One of the first things we added to the materials in Flip's Twisted World was a coloured edgelight. This is a glow that affects just the visible edges of a shape, and helps accentuate curves, as well as aiding in picking-out a character from a background. When writing a DirectX 9+ shader, I might add an edge light like this:
float edgeLight = saturate(1 - dot(normal, view));
colour += lightColour * edgeLight;
This tells the graphics card, "Calculate the angle between the player's view and the surface's normal (the direction that part of the shape is facing), and apply full edge light when they're perpendicular (at the edge), and none when they're parallel (in the middle)"
Doing this with NintendoWare materials is much harder. I didn't have access to the view or normal vectors directly, or even the basic "dot product" operation that's at the heart of so many 3D calculations. At first brush, it looked impossible. The trick turned out to be leveraging the wealth of texture mapping modes the NintendoWare material system provides.
Lost? Check Your Map
Textures are images that are wrapped over the surface of 3D models to give them fine details and colour. Normally they're wrapped using what's called "UV Mapping," which means each part of the texture stays glued to a particular part of the model as it moves.
NintendoWare also let us map the textures using “Environment Mapping,” which means the texture gets mapped according to how it curves relative to the player's view. The middle of the texture gets mapped to the parts that are facing the player, the right edge of the texture gets mapped to surfaces curving away to the right, etc. Starting to sound a little like the edge light, isn't it?
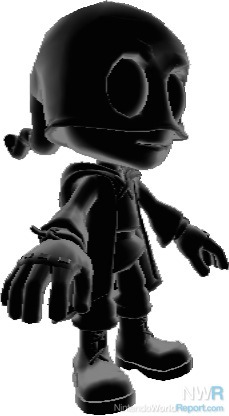
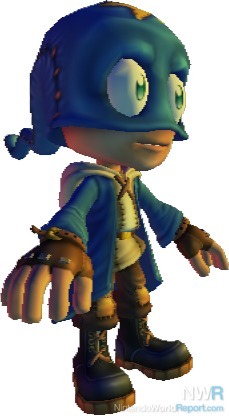
We used a radial gradient texture, environment-mapped, to get the edge light to fall off from white at the edges to black in the middle. (Actually, we only used one-quarter of the gradient, and mirrored it to get the whole circle – that let us save memory for more interesting textures!)
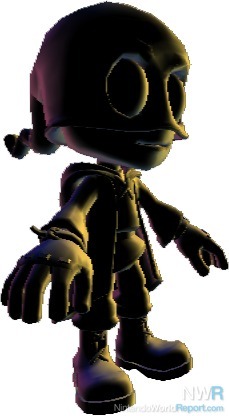
When we add it to the basic diffuse material (light colour times surface texture), we get a passable edge light. What we didn't like about this effect was that it made everything look a bit fuzzy, like velvet, and it washed-out the colours and details at the edges.
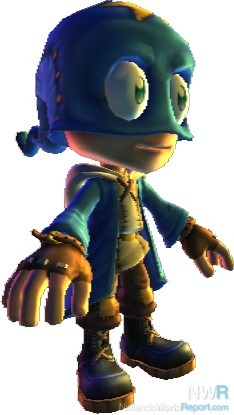
To fix that, we decided our edge light should pick up and exaggerate the colour of the incident light. We changed our gradient from 0 -> 255 (black to white) to 64 -> 192 (25 percent to 75 percent grey), then multiplied it by our light colour. Then we took the result and multiplied it by four, and used the new value as our light colour for all our materials. That meant we had the normal amount of light in the middles of our forms, and triple the light at the edges, while still preserving the light's colour. This became the foundation of Flip’s lighting look.
An Indirect Approach
An Indirect Approach
One problem with the environment mapping is that it's applied orthographically, meaning that it only really works on curved surfaces. On flat surfaces like floors and walls, the whole surface lights up as though it were all-edge, quickly becoming overwhelming. We fixed this with what's called an indirect texture, which modifies the mapping of a regular texture. We mapped our indirect texture to the screen's four corners, and used it to gently bias the lookup into our edge light gradient. That way, even when a big flat wall filled the screen, the indirect texture would ensure that the light varies over its surface, rather than being all glare, all the time.
Grokking the Wii
The techniques we used for the coloured edge light sum up what we discovered is the main idea of working with the TEV and NintendoWare materials: you use combinations of textures to do the heavy lifting, rather than fancy math like you'd see in a typical shader. As a final example, here’s how we achieved one of my favourite effects: the lava seen in the Depths world.
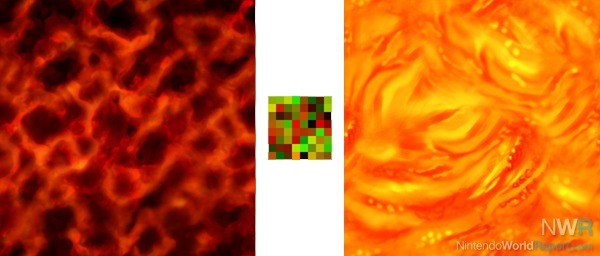
The lava material works on just three textures: a "hot" layer representing the fast-flowing, liquid lava, a "cold" layer representing a cooling crust of the solid rock on top, and a random-looking pattern we use to blend between and distort them.
We blend between the cold and hot layers using our random-looking texture, so some patches look hotter than others. We throw in a little of the cold texture's green channel as a bias, so that as the lava heats-up or cools, the rocky crust grows and shrinks at the edges of each chunk, rather than just fading in-and-out. We also blend in a base colour assigned to each body of lava, which affects its overall brightness and makes the rocky chunks glow red at the melting/cooling edge.
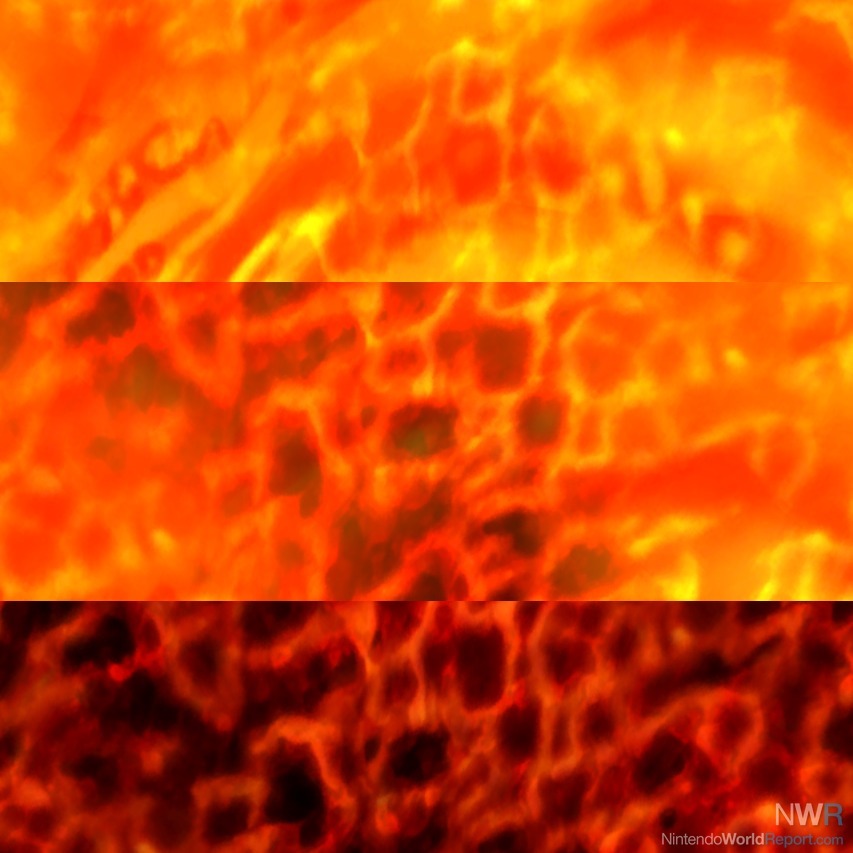
We map all three textures at different scales, so even when they repeat, they don't line up exactly the same way. This helps when we have large seas of lava, such as during the Magma Toad battle. As a final touch, we reuse our random pattern as an indirect texture to distort the cool and hot layers, so they warble and undulate in a fluid way.
By varying our base colour and the blending values, as well as the way we animate the three texture layers independently, we can make anything from the cool, stagnant lava in the Forge room to the hot, flowing lava of the Lava River, all with one material. The end result has a surprising amount of visual depth for a three-texture, three-stage material.
A Poor Craftsman Blames His Tools...
A Poor Craftsman Blames His Tools...
Throughout development on Flip's, I wasn't working with the TEV directly, but rather via the NintendoWare material editor I was using to create the effects. This sped up our work a lot because it gave me instant, visual feedback of what my materials would look like, and I didn't have to trouble our programmers to keep compiling new builds of the game every time I wanted to tweak a parameter. However, I have a strong suspicion that the tool doesn't expose quite everything the TEV can do. While I'm very pleased with the range of material effects we could create this way, I'm interested in pushing the Wii even further. On our next Wii project, I may bite the bullet and learn the raw code the Wii uses to describe TEV effects, or beg our programmers to build me a more low-level preview tool.